![[STAGING] Cut Plastic Sheeting](https://staging.cutplasticsheeting.co.uk/app/uploads/2020/09/cut-plastic.svg)
Complete Step-by-Step Guide
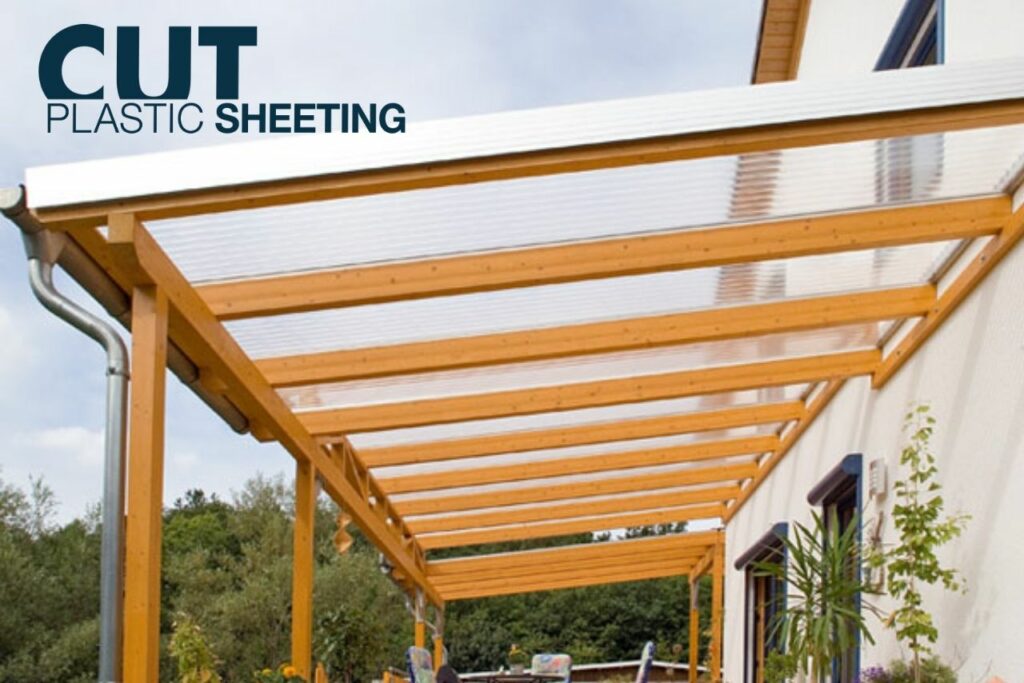
Twinwall polycarbonate is a popular choice for roofing projects — lightweight, strong, UV resistant, and easy to work with. Whether you’re building a carport, veranda, pergola, lean-to, conservatory or garden room, this guide will take you through everything you need to know to install a twinwall polycarbonate roof properly.
Step 1: Get Organised
To start with, you need to make sure you have the correct materials and tools to complete the job. You want to start with getting your Twin Wall Cut To Size. You will also need:
Materials and Accessories You’ll Need:
✔️ Twinwall Polycarbonate Sheets (cut to your required size)
✔️ Snap Or Screw Down Glazing Bars – to join two sheets neatly
✔️ Edge (U) Capping – to seal and protect sheet ends
✔️ Breather Tape – to prevent moisture build-up inside sheets
✔️ Fixing Buttons – to securely fix sheets without damaging them
✔️ F Sections For Finishing the long side of the open edges of the sheets
✔️ Wall Flashing/Wall Bars – for watertight fixing against walls
✔️ Screws, Sealants, and Drill – standard tools for assembly
Step 2: Prepare Your Framework
Build a supporting frame (timber, steel, or aluminium) with rafters spaced no more than 600mm apart for strength.
Ensure the frame has a minimum roof pitch of 5° to allow rainwater runoff.
Step 3: Measure and Cut Sheets (if needed)
Twinwall sheets can be cut using a fine-tooth circular saw, jigsaw, or a sharp knife for thinner gauges.
Always double-check measurements before cutting!
Step 4: Seal the Sheet Ends
Bottom edge: Apply Breather Tape to the bottom end (the side facing the gutter). This allows moisture to escape while keeping dust and insects out.
Top edge: Apply Aluminium Foil Tape or solid Edge Capping to fully seal the top and prevent water ingress.
Step 5: Fit Edge Capping (U-Profiles)
Push the U-profile firmly onto the taped ends of each sheet.
- Push the F Sections on the long edges that are not going to be connected to other panels.
For extra security, apply a small bead of silicone sealant inside the U-profile before pushing it onto the sheet.
Step 6: Install the Sheets
Lay the first sheet onto the frame.
Fix it through the sheet using polycarbonate fixing buttons, placed at regular intervals along each rafter (around every 300–400mm).
Drill oversized holes (around 2–3mm wider than the screw) to allow for natural expansion and contraction of the polycarbonate.
Step 7: Join the Sheets
Use either the snap down or screw-down Glazing Bars between each adjoining sheet.
Push the sheets into each side of the Glazing Bar until securely seated.
Screw Down Glazing Bars provide more support and can be used for greater waterproofing and strength — especially for larger roofs or exposed locations.
Step 8: Attach Wall Flashing (If Needed)
- If fitting against a wall (e.g., a lean-to roof), use a wall bar or wall flashing to create a neat, watertight seal at the top edge where the polycarbonate meets the building.
We have Flashing bars for Gable Ends and Vertical Walls If you are creating a lead-to you can use our Lean-To Flashing Trim for a professional finish..
Step 8: Check and Seal
Ensure all edges are capped and that no open ends are left exposed to the elements.
Apply silicone sealant sparingly where necessary for waterproofing.
Remove any protective film from the polycarbonate once installation is complete.
Step 8: Top Tips For A Profesional Finish
✅ Always install sheets with the ribs running down the slope for maximum drainage.
✅ Leave a small expansion gap (around 5mm) between sheets and profiles.
✅ Use UV-protected side of the sheet facing upwards (check for labeling).
✅ Do not over-tighten screws — allow the sheet to expand naturally with temperature changes.
✅ Clean with soapy water only — never use abrasive cleaners.
Your Roof Is Finished
Using twinwall polycarbonate and the correct accessories, you can achieve a professional, long-lasting roof that’s lightweight, weatherproof, and visually striking.
For more information on Acrylic, Perspex, MDF, Dibond and Polycarbonate please visit our Guide and Blog sections of the website.
Cut Plastic Sheeting are based on the south Coast in Ivybridge, Devon UK. We have a full manufacturing facility which enables us to offer Cut To Size Acrylic as well as Cut To Size MDF. Shop our full range of products, including our Clear Acrylic, coloured acrylic and more recent MDF Wood Sheet ranges.
Our Team are always here to help with any enquiry, please send us an email or for more urgent needs give us a call – Contact Us