![[STAGING] Cut Plastic Sheeting](https://staging.cutplasticsheeting.co.uk/app/uploads/2020/09/cut-plastic.svg)
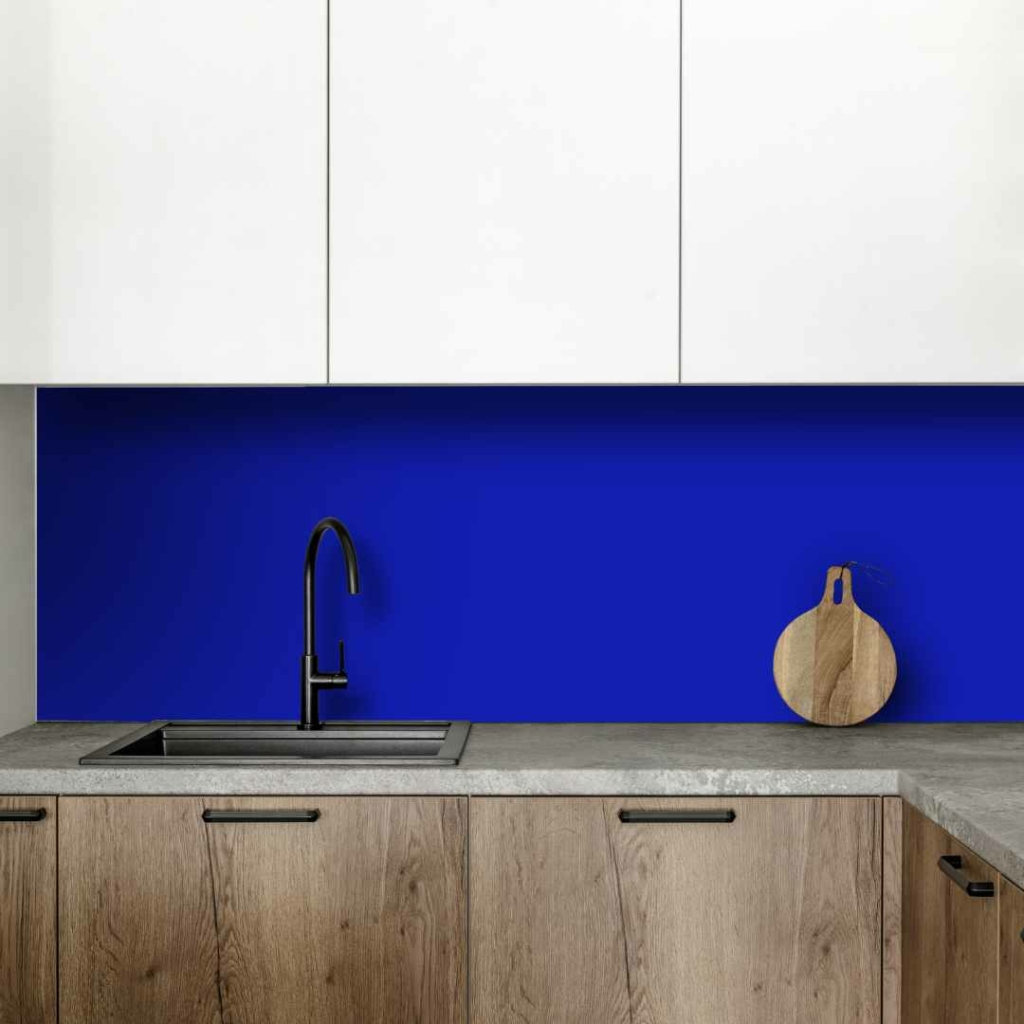
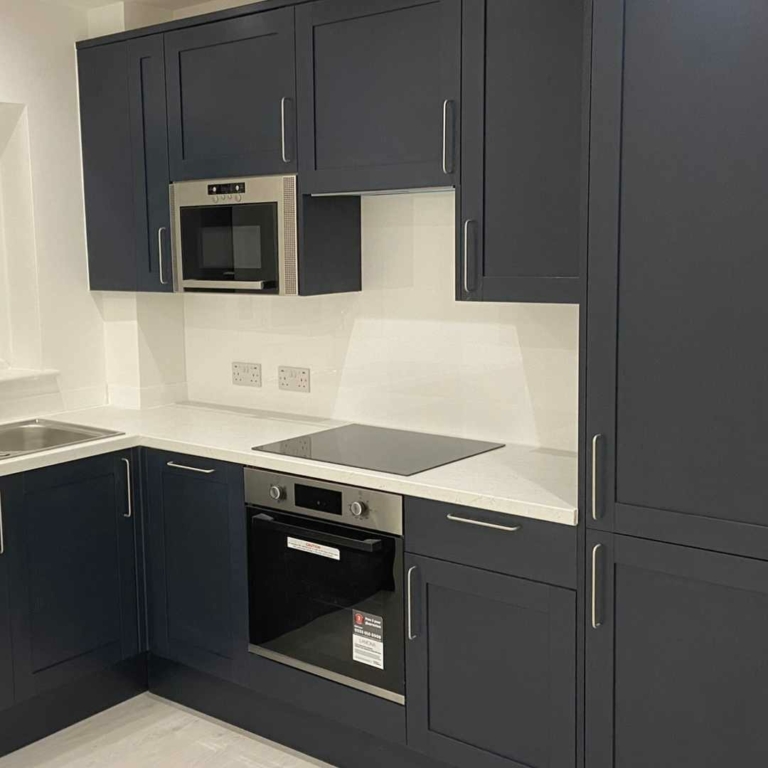
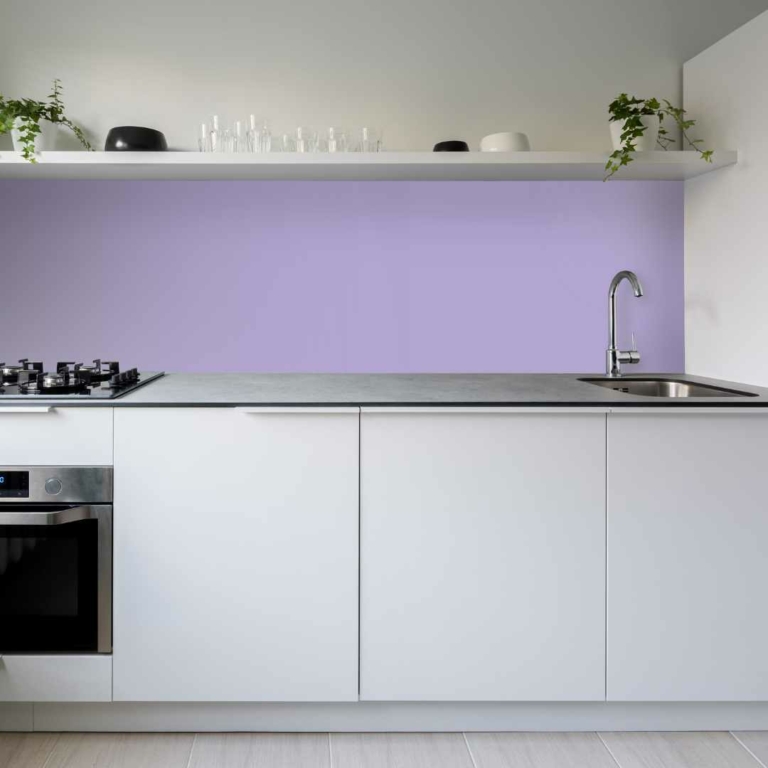
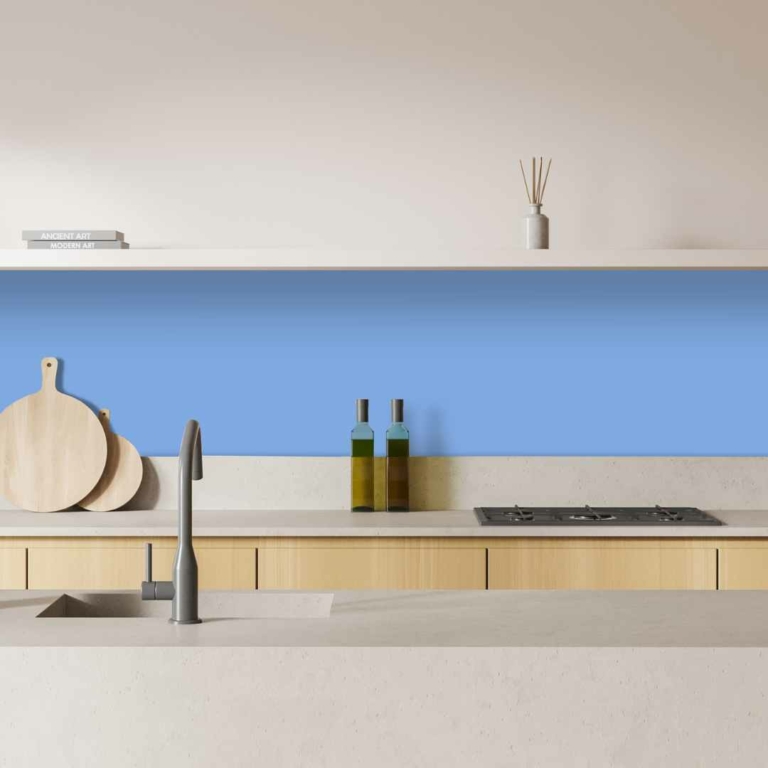
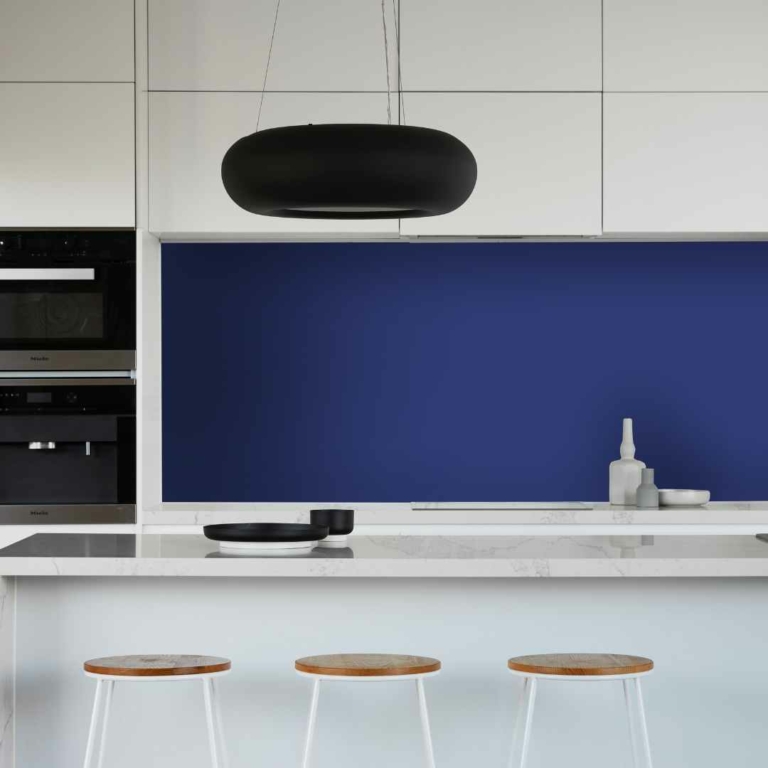
Splashbacks are a practical and stylish addition to any kitchen or bathroom. It provides protection to the wall behind the hob, sink or bath and is an easy DIY project to undertake. In this blog, we will take you through the step-by-step process of installing a cut-to-size splashback. We will also provide tips and tricks to help you get the best results. Whether you’re a seasoned DIY enthusiast or a first-timer, this guide will give you all the information you need to successfully fit a splashback in your kitchen or bathroom.
Preparing Your Surface
The first step you need to do, regardless of the way you are fitting your splashback, is to prepare your surface. For a long-lasting fit, you need to make sure the wall is flat and clean. If your surface is slightly ‘bumpy’, you can flatten the wall by sanding down the area.
Receiving Your Splashback
Once you have received your cut-to-size splashback, it is always recommended to check out the measurements by placing it up against the required area. Once the sizing has been confirmed you are ready to begin installing your splashback.
Depending on what material you have, there may be a protective film on one side or both sides. When fitting your splashback, remove the protective films.
Using Adhesive
Probably one of the most common ways to apply a splashback is by using an adhesive. Adhesive, especially CT1 Sealant, is incredibly strong and pretty much permanent so you must make sure that you are happy with the positioning before applying the sealant. Once the sealant is on, you will be able to adjust the splashback and get it into place while the glue is still wet but the second it is dry you are stuck with it how it is. To get the best possible results when using an adhesive, please ensure that the acrylic panels and the wall is dry prior to being fixed. It is also advised that you do not apply the adhesive close to the outside edge of the acrylic panels, because it will ooze outwards when pressed against the wall. 10mm ought to be enough to guarantee that this does not happen.
Once your surface is prepared and you have checked the positioning of your splashback, you can now start to apply your adhesive. The adhesive should be supplied in a long swirl-like motion as shown in the diagram.
Now that your adhesive is on the back of your splashback, press it onto the wall in its desired position. When you are happy with the position, firmly press to ensure a solid bond has been created. Then, you should seal around all the edges to stop any water or moisture from getting in the back.

Using Screws
Screwing in your splashback is another method of installation that you can do. To make things easier for you, you can request drilled holes on your cut-to-size splashback when you order it with us at Cut Plastic Sheeting. Then, all you have to do is mark the wall where your drilled holes are and drill through the marks placing in raw plugs where needed. Make sure you are not drilling into any cables or water pipes!
If you chose not to use Cut Plastic Sheeting to drill holes into your splashback and you need to do it at home, you can follow this five-step guide on how to drill holes into your acrylic.
Using Tape
The final way you can apply a splashback is by using double-sided tape. The type of tape we recommend using is double-sided foam tape as it has excellent strength and can hold up the weight of an acrylic or aluminium splashback.
To start off with, you need to prepare the wall – please find information about this above. Then you need to cut off your strips of tape. We recommend that you apply the tape in evenly spaced horizontal strips along the width of the sheet. Once your tape strips have been cut to the required size, peel off the protective film on the back of the splashback and stick down one side of the tape in horizontal lines as shown in the diagram. We suggest a spacing of about 150mm per line. Once the tape is in place, peel off the backing and press it on the wall. Keep firmly pressing all around so the tape is secured.
After the splashback is in place, seal around the edges to stop any moisture or water from getting into the back of the splashback.

All acrylic splashbacks allow for low levels of light transmission and a vinyl backing will be required to stop any light passing through. If you wish to add a vinyl backing on your splashback, please contact our sales team for additional pricing.
Ordering A Splashback
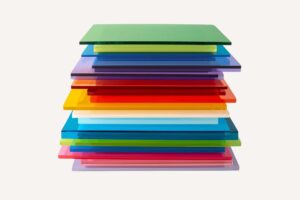
Ordering a splashback at Cut Plastic Sheeting couldn’t be easier. All of our materials are available cut to size and shape so they can fit any space that you have in your home. The materials are also available as a sample if you want to check the colour and quality before committing to a custom sheet. We are completely transparent with our pricing so you can select which product you like, enter your measurements and get an instant price.

For more information on Acrylic, Perspex, MDF, Dibond and Polycarbonate please visit our Guide and Blog sections of the website.
Cut Plastic Sheeting are based on the south Coast in Ivybridge, Devon UK. We have a full manufacturing facility which enables us to offer Cut To Size Acrylic as well as Cut To Size MDF. Shop our full range of products, including our Clear Acrylic, coloured acrylic and more recent MDF Wood Sheet ranges.
Our Team are always here to help with any enquiry, please send us an email or for more urgent needs give us a call – Contact Us